Creating a named session
You can use macros to create named database sessions within which copies of related session assets are stored for the life of the session. This enables multiple users to interact with session assets at the same time without negatively impacting system performance.
- Add a macro to your app.
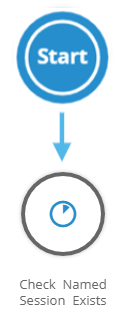
- Add a Check Named Session Exists action to the macro:
- In the Layout Designer pane, in the Projects section, select the macro.
- In the Logic Objects section, drag the Check Named Session Exists action onto the design surface.
- In the Check Named Session Exists Properties dialog box, on the Configure tab, type a name for the session that you will create.
- Click OK.
- Link the Start icon to the Check Named Session Exists action.
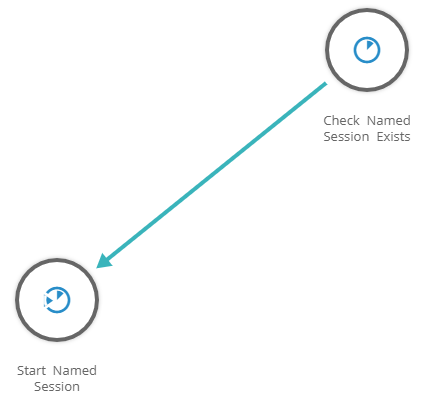
- Add a Start Named Session action to the macro:
- In the Logic Objects section of the Layout Designer pane, drag the Start Named Session action onto the design surface.
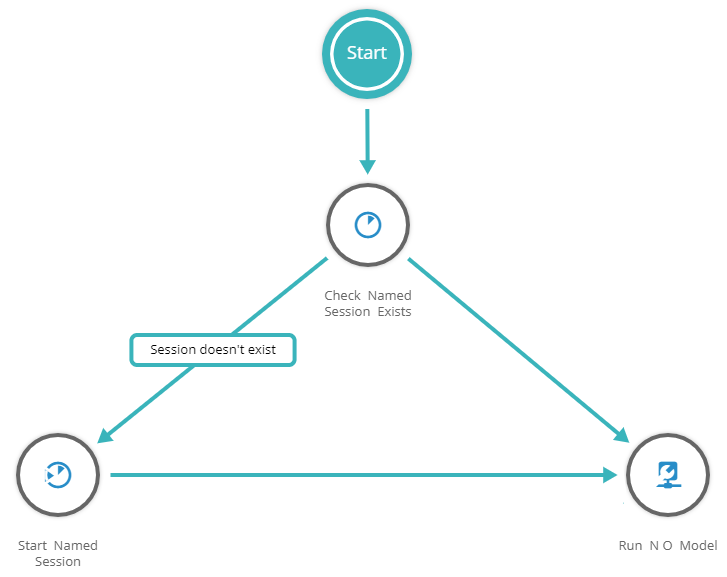
- Link the Check Named Session Exists icon to the Start Named Session icon.
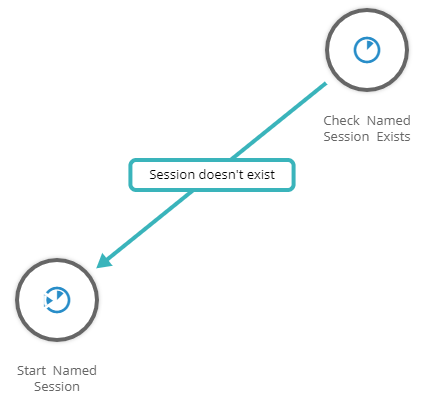
- Make the link conditional so the action runs only if the session doesn't already exist:
- Click the link connecting the actions, and then click Edit the Link.

- In the Link Properties dialog box, for label, type a label to indicate that this conditional path through the macro will run when the session doesn't exist. For example, "Session doesn't exist".
- For Condition, choose Custom Condition.
- In the statement editor, click
 , and in Global Parameters, choose @@result.
- Click , and in Operators, choose =.

- Click , and in Parameters, choose Add Parameter or Constant.
- In the Parameter Setup dialog box, for Parameter Type, choose Constant Value.
- For Data Type, choose Integer.
- For Value, type 0.
- Click OK.

- Click OK to close the dialog box.
- Click the link connecting the actions, and then click Edit the Link.
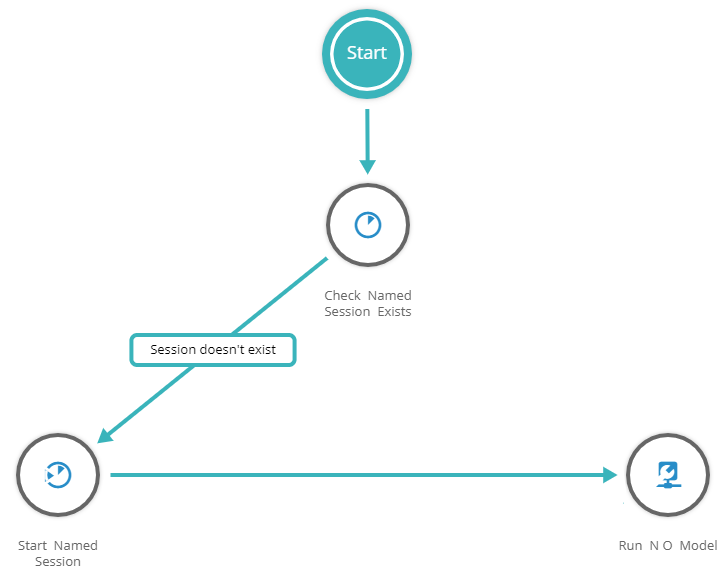
- Add a technology action to run a model or a Data Guru project:
- In the Technology section of the Layout Designer pane, drag an action onto the design surface.
- In the action properties dialog box, on the Configure tab, specify the connection.
- For Scope Type, choose Named.
- For Scope Name, specify the name of the session.
- Adjust other properties, as necessary.
- Click OK.
 While this topic shows how to run a technology action in a named session, designers can run any action that is needed, such as the Update or Insert actions.
- Link the Check Named Session Exists and the technology actions.
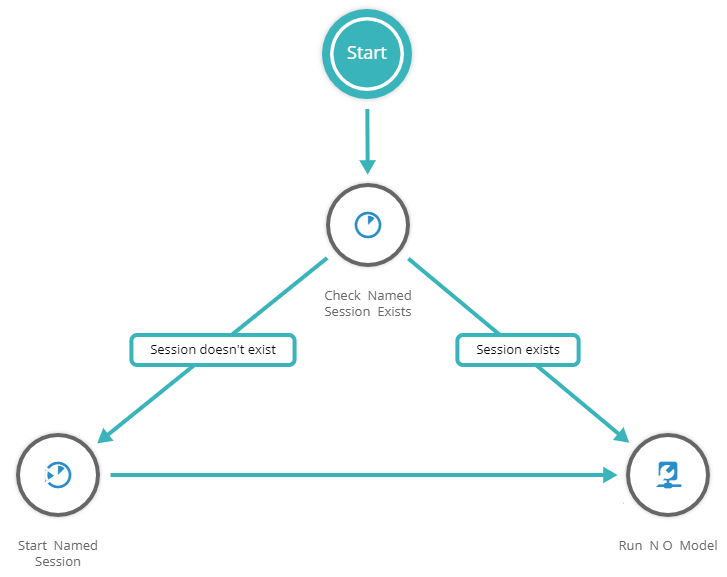
- Make the link conditional so the action runs only if the session already exists:
- Click the link connecting the actions, and then click Edit the Link.
- In the Link Properties dialog box, for label, type a label to indicate that this conditional path through the macro will run when the session already exists. For example, "Session exists".
- For Condition, choose Custom Condition.
- In the statement editor, click , and in Global Parameters, choose @@result.
- Click , and in Operators, choose =.
- Click , and in Parameters, choose Add Parameter or Constant.
- For Data Type, choose Integer.
- For Value, type 1.
- Click OK.

- Click OK to close the dialog box.
- Click the link connecting the actions, and then click Edit the Link.
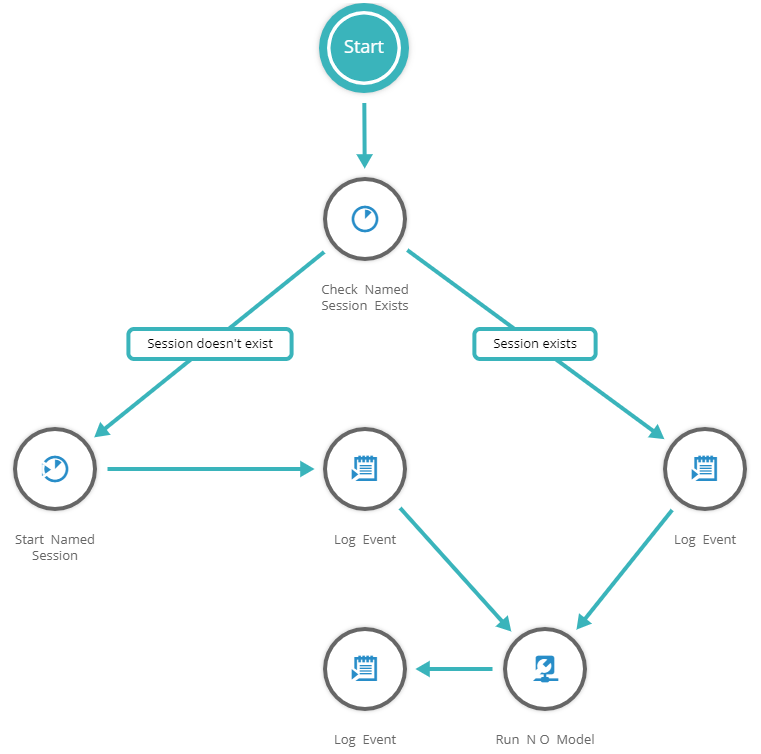
- If you want to record when an action is executed or send notifications, add Log Event or Notification actions to the macro.
- Click Save.
- Add an event to an app board or widget to run the macro.
- Add a macro to your app.
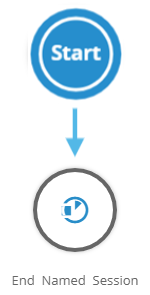
- Add an End Named Session action to the macro:
- In the Layout Designer pane, in the Projects section, select the macro.
- In the Logic Objects section, drag the End Named Session action onto the design surface.
- In the End Named Session Properties dialog box, on the Configure tab, type the name of the session that you will use the macro to end.
- Click OK.
- Link the Start icon to the End Named Session action.
- Click Save.
- Add an event to an app board or widget to run the macro.
Last modified: Friday May 12, 2023