Create a local database using the DDM schema
When using the Data Guru actions to populate the DDM through API calls, you need a source schema that matches the schema of the destination database, in this case the DDM. The basic activities required in this task are:
-
Create and attach a new SQL database in Data Guru.
-
Create a connection to the SCDP platform.
-
Use the Platform MultiTable Import action to generate the tables in the local database using the schema of the DDM.
The detailed steps are provided below. In the example, the new DDM is called "DDM_QuickStart".
-
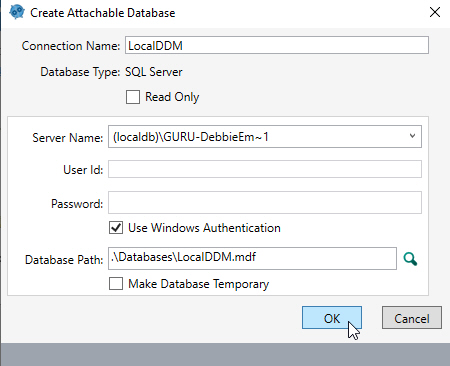
In Data Guru, create a new project. You see the Create Attachable Database form.
-
Enter/select the Connection Name, Server Name and optionally change the Database Path as needed.
-
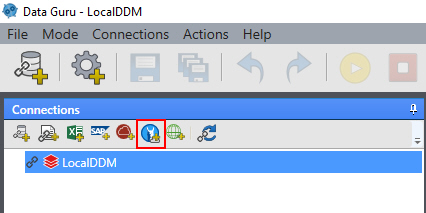
Create a new connection to the Coupa Supply Chain platform by clicking
 :
:
-
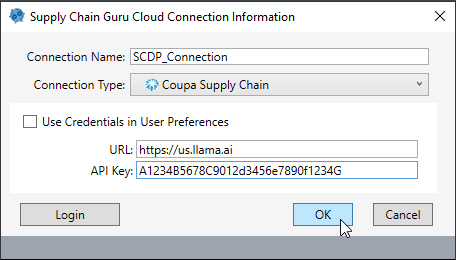
Enter the Connection Name and your API Key, then click OK to complete the connection.
-
Click New Macro
 in the toolbar.
 -
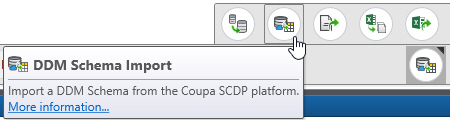
Select the DDM Schema Import action
 .
.
-
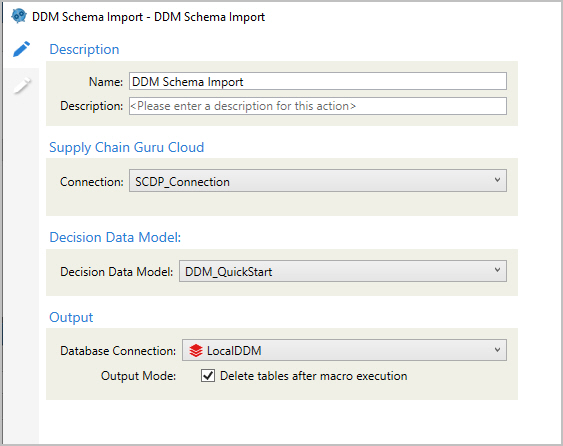
Set up the connection as follows:
-
Enter the Name.
-
Select the Connection you completed in step 4 and select Download DDM.
-
Select your DDM as the Asset value.
-
Select the Database Connection you completed in step 2.
-
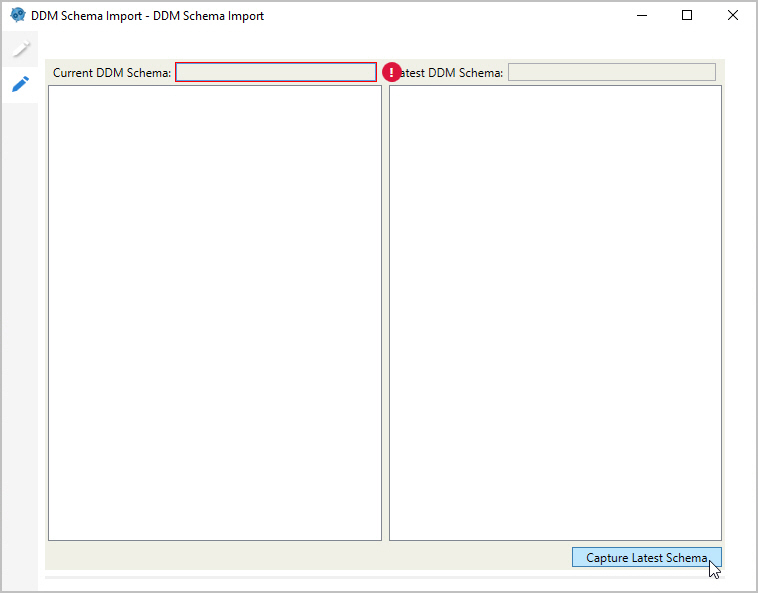
Click the second configuration tab to capture the latest schema version:
-
The Current DDM Schema value is populated and the latest available schema definition is displayed:

-
-
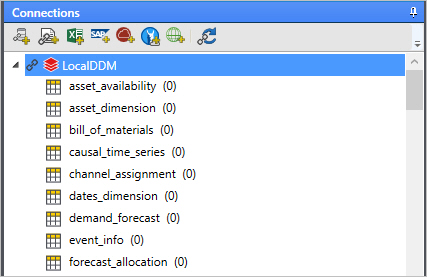
Run this action to import the DDM tables into your local database. All tables are currently empty.
You are now ready to populate the local database with data from an Excel file.