Task 2: Create a macro with Run Excel Import action
In this task, you'll create a macro that includes the Run Excel Import action. You'll configure the action to prompt for the source Excel file, target the correct DDM file and identify the tables that are populated by this action.
First, you'll create a new project that contains the macro.
-
Access Macros on the Supply Chain landing page.
-
In the Layout Designer, click New..., then select Project.
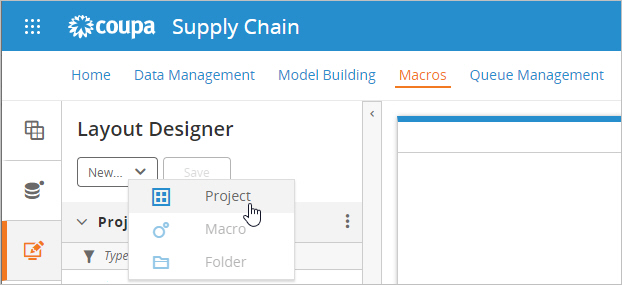
-
Optionally, edit the project Name and click OK.
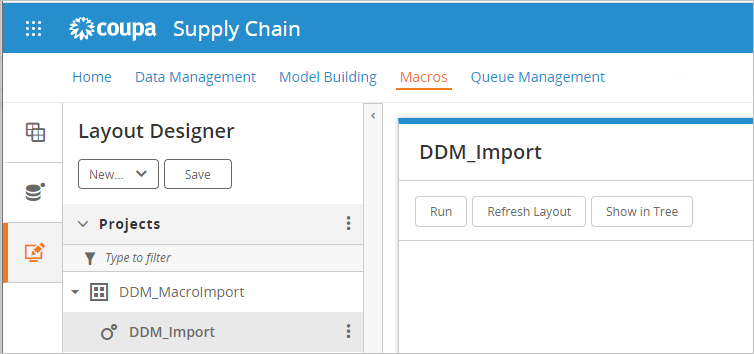
Next, you'll add a macro to the project.
-
With the project selected, click New..., then select Macro.

-
Optionally, edit the macro Name and click OK.
To complete this task, you will add the Run Excel Import action to the macro and configure it with the DDM and target tables. Since the action allows the user to select an Excel file, you will include a prompt.
-
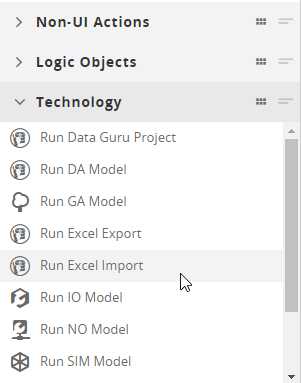
With the macro selected, expand the Technology action section.
-
Drag and drop the Run Excel Import action to the macro board.
-
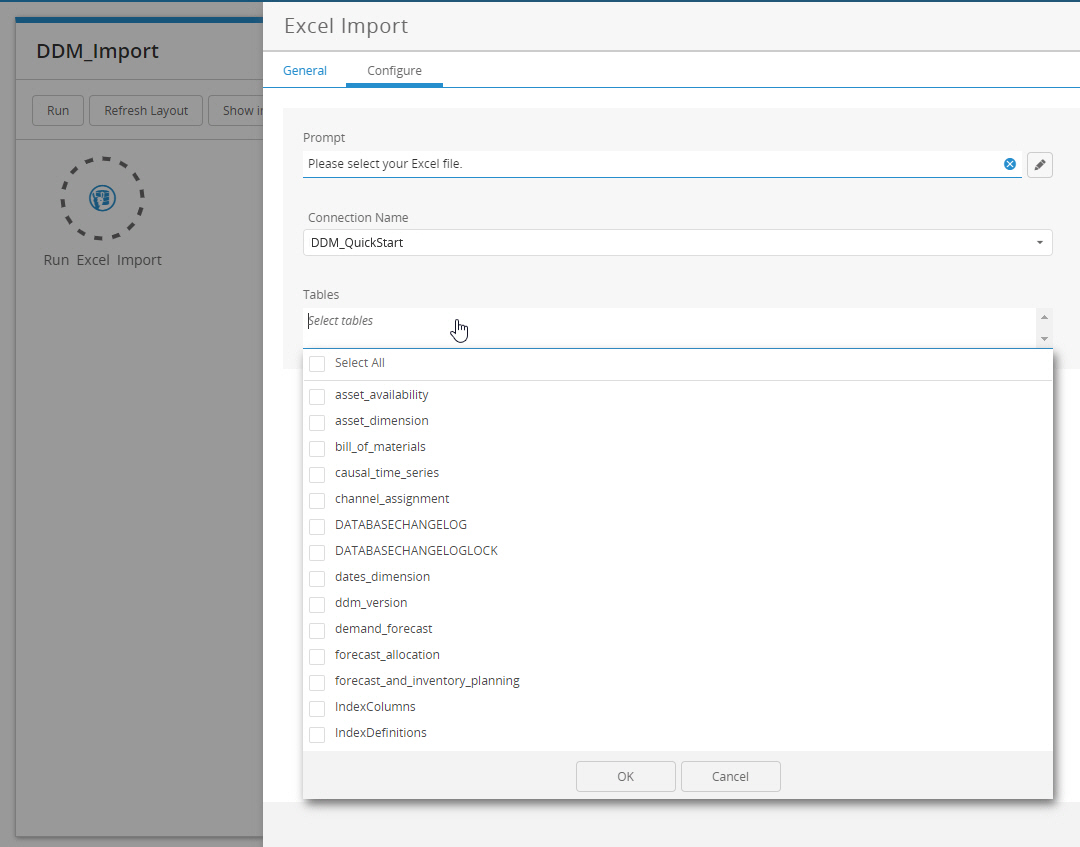
In the Excel Import action, click the Configure tab and enter text for the Prompt, such as "Please select your Excel file."
-
In the Connection Name field, select your DDM.
-
Click the dropdown list in Tables.
-
Select the following tables and click OK:
-
locations_dimension (Location)
-
orders_full (Order)
-
product_dimension (Product)

-
-
Click OK to save the action.
-
Create a link from the Start button to the Run Excel Import action.
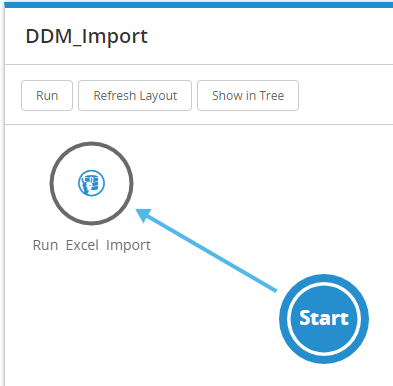
-
Click Save at the top of the Layout Designer.
Your macro is now complete.