Radial menu
Once an object has been added to a macro or workflow, you can hover over its icon to display a radial menu for performing additional tasks:

View inputs and outputs
When an action such an import or transform uses more than one input table, the number of input tables appears in a small blue circle adjacent to the action’s icon; in the previous example, the number 2 indicates that this action uses two input tables. If you hover over the Info icon on the radial menu, you can display additional information about the action or macro, including the names of the two input tables:
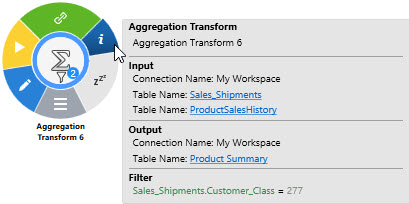
Note that this example includes the definition of a filter that is being used in the action; whenever a filter is being used in an action, it is included here, and a filter symbol![]() appears near the center of the action’s icon.
appears near the center of the action’s icon.
Manage actions from the design surface
To perform basic management of an action while on the design surface, hover over the Manage icon at the bottom of the radial menu to display a list of tasks:

Note that some choices are available only for actions:
- Rename Table - rename one or more tables in a selected action
- Swap Connection - change the connection for a selected action
- Cut - cut an action or macro from the design surface and place a copy on the clipboard
- Copy - copy an action or macro to the clipboard. If you copy and paste an existing macro using the radial menu in a workspace, this creates a new "node-representation", not a separate macro. For instance, renaming the copy will also rename the original macro. To create a unique new macro from an existing one, use the Copy and Paste features in the Actions pane.
- Copy to tool pane - copy the action as defined to the tool pane at the bottom of the window
- Paste - insert the cut/copied action or macro onto the design surface
- Rename - rename a selected action or macro
- Delete - remove an action or macro from the design surface and from the database
Rename tables
You can rename any of the tables referenced in an action without opening the action, and you can rename the tables from multiple actions in a similar manner.
- For a single action, hover over the action to display the radial menu and click on the Manage icon at the bottom, then select Rename Tables.
or
For multiple actions, click on one of the actions and use Ctrl + click to select additional actions, then right-click next to the selected actions and select Rename Tables.
A Table Summary is displayed listing the tables referenced in your selected action(s).
- Select a table to highlight it, and then enter its New Table Name.
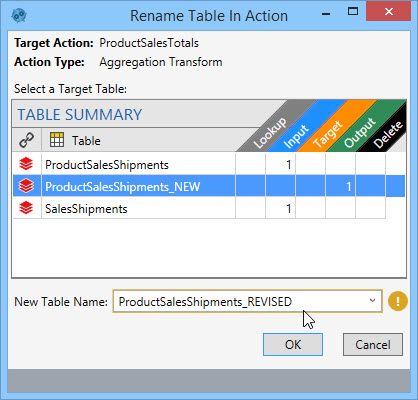
- Repeat the previous step to rename multiple tables.
- Click OK when finished.
To rename tables globally across the open project, refer to Rename Tables Globally.
Swap connection
You can change the connection currently used by an action without opening the action.
- For a single action, hover over the action to display the radial menu and click on the Manage icon at the bottom, then select Swap Connection.
or
For multiple actions, click on one of the actions and use Ctrl + click to select additional actions, then right-click next to your selected actions and select Swap Connections.
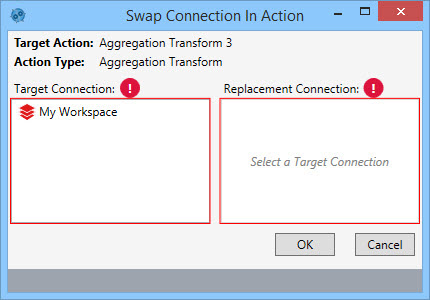
- Select the Target Connection currently being used to populate the Replacement Connection list.

- Select the Replacement Connection.
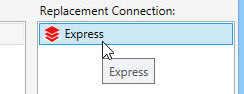
- Click OK.
Last modified: Thursday December 19, 2024