How do I?
Manage actions on the design surface
In Data Guru, the actions you create to build macros and workflows are represented visually on a design surface. Editing features built into the design surface allow you to manipulate the actions in your design.
You can add a new action to a macro or workflow, and the action can be linked to another action in a macro or to another action or a macro in a workflow. You can also add an action that is not linked to anything else in the macro or workflow.
- Click on an action category in the Actions palette below the design surface to display the actions in that category.
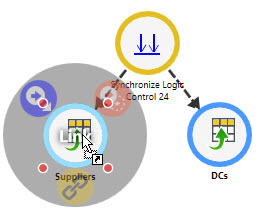
- Drag an action from the expanded category to the design surface.
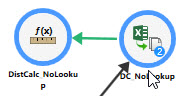
- Drop the action on another action or a macro in the design surface to automatically link it as a downstream action to the other action or the macro.
- Drop the action on any open space in the design surface to create the action as an independent object.
- Use the action's dialog to define its properties and characteristics.
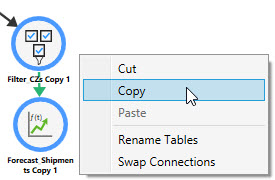
You can cut or copy one or more actions in a macro or workflow, and then paste them to a selected action or the Start icon.
- Click on an action to be cut or copied. Use Ctrl + click or Ctrl + drag to select additional actions (refer to Select multiple actions or other objects for details on selecting more than one action).
- Right-click next to the selected action(s), and select either Cut or Copy.
- If you are pasting the selected actions to another action, click on the action to which the selected actions will be pasted.
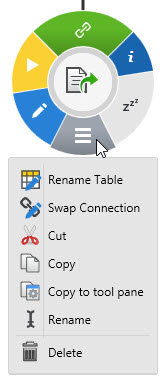
- Select Paste from the Manage icon at the bottom of the action’s radial menu, or right-click and select Paste.
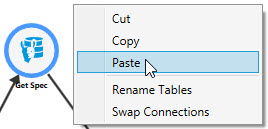
The copied actions are pasted as downstream actions.
If no destination action was selected, the actions are pasted onto white space with no connection to another action.
You can copy an action you have defined on the design surface to the All Actions tool pane that appears along the left side of the Data Guru window, making it easily available for future reuse.
- Hover over the action to display the radial menu, and click on the Manage icon at the bottom, then select Copy to tool pane.
- Click Copy when prompted to confirm your selection.
The copied action appears in the All Actions section of the tool pane, in addition to the appropriate category within the tool pane.
Some actions can be configured to generate a warning when they execute successfully despite some problem detected. For example, the Drop Table action can be configured to warn when the table being dropped does not exist. When a warning is detected, it is identified by a triangular warning badge next to the execution status appearing on action’s icon.
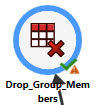
Click on the execution status for an explanation of the warning.
You can select multiple actions and/or other objects using one of two methods:
- Ctrl + click
To use this method, click on an action, then press and hold down the Ctrl key and click on additional actions.
- Ctrl + drag
To use this method, position the mouse pointer at a point near one of the actions, then press and hold the Ctrl key as you drag the pointer to create a bounding rectangle around the remaining actions.
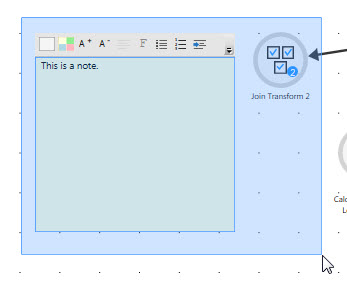
You can also select notes in addition to actions using this method
You can move multiple actions and/or other objects on the design surface using one of two methods:
- Click on an object such as an action or a note, then use Ctrl + click or Ctrl + drag to select additional objects, then move to a new location by using the left mouse button to drag while the pointer is positioned on one of the selected objects.
- Press and hold Ctrl, then press and hold the left mouse button and drag the mouse to form a bounding box around the objects to be moved, then position the mouse pointer on one of the selected objects and drag to a new location.
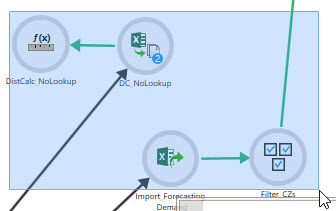
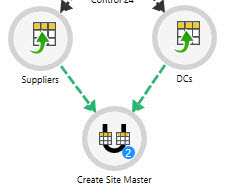
You can link multiple upstream actions to a single downstream action, so that upstream actions execute in parallel prior to execution of the downstream action:
- Press and hold down the Ctrl key and do one of the following -
- Click on each upstream action you want to run in parallel.
- Press and hold the left mouse button and drag the mouse to form a bounding box around the objects to be included.
- Drag the downstream action onto any of the selected upstream actions.
- Drop the action, and use the configuration dialog to define it.
When saved, the downstream action is linked to the upstream action.
- Hover over the action to display the radial menu, and click on the Manage icon at the bottom of the menu to display the list of tasks.
- Click Delete.
Last modified: Thursday December 19, 2024
How do I?