Task 6: Run the Network Optimization model
In this task, you open the new model and solve using Network Optimization. You then review the solution using output tables and maps.
First, you'll run it using Network Optimization.
-
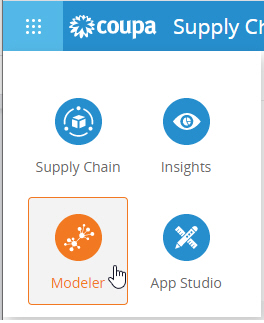
Select Modeler from the App Menu.
-
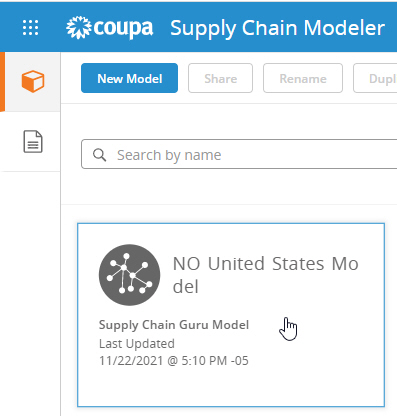
Double-click on your new model to open it.
-
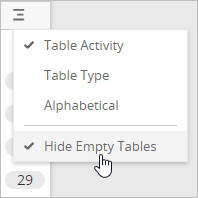
In Input Tables, select Hide Empty Tables.
-
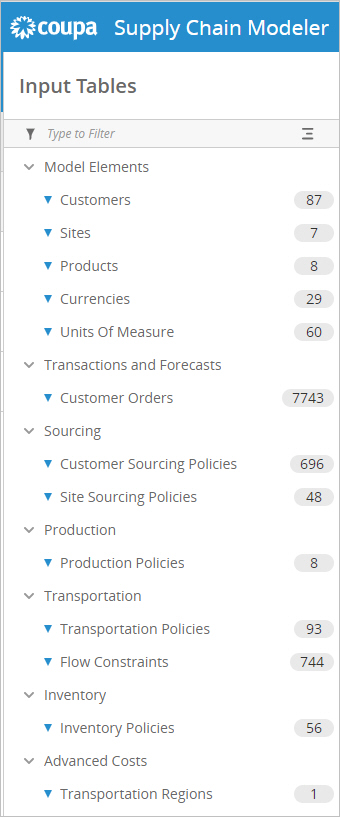
Confirm that Customers, Sites, Products, Customer Orders, Production Policies, Customer Sourcing Policies, Site Sourcing Policies, Transportation Policies, Inventory Policies and Flow Constraints are populated with records.
-
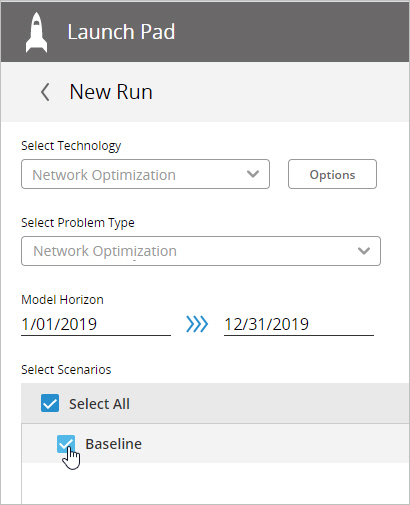
Click
 to open the Launch Pad, then update the following options:
-
Ensure the Problem Type is "Network Optimization"
-
Select the checkbox for the "Baseline" scenario.
-
-
Click Run.
The model solves successfully and you can now review the results using the Customer Flows output table and Maps.
-
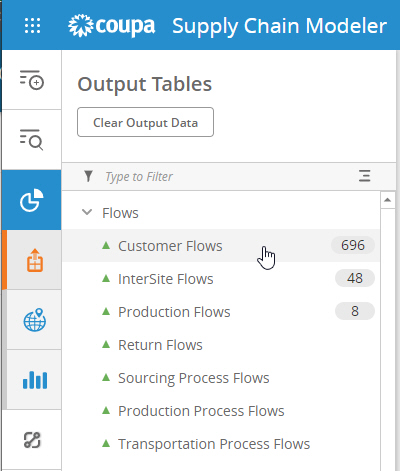
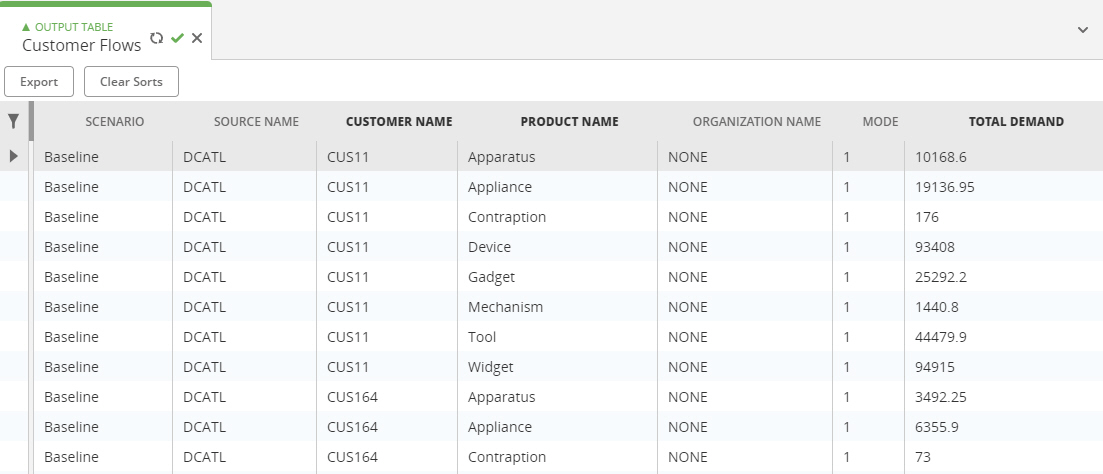
Select Output Tables, then open the Customer Flows.
You see the flows of aggregated product to each customer that was generated when the model was run. The other sites are the existing sites in the model.
-
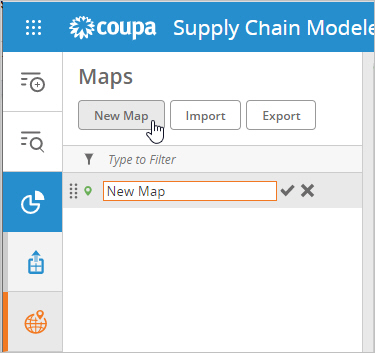
Select Maps, then click New Map.
-
Select the following layers, then click Add:
-
Customer Summary Sites and Site Summary Sites as Points layers
-
Customer Flows as the Connections layer
-
-
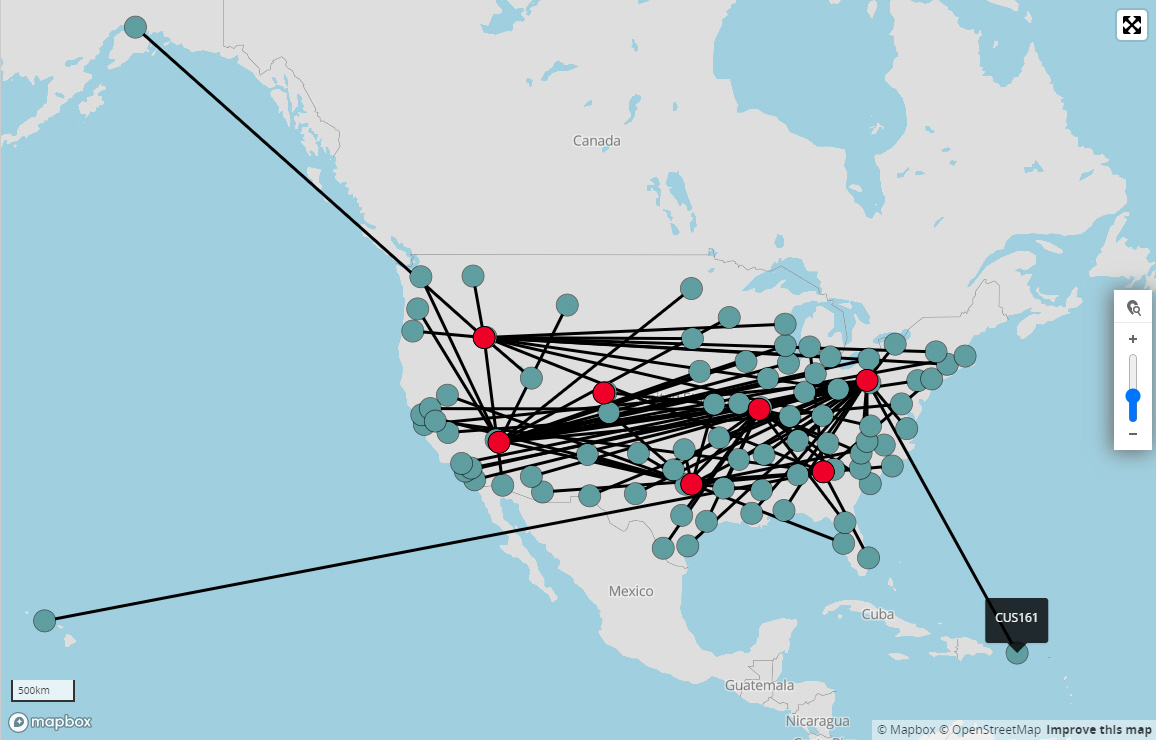
Click Quick Zoom and select "US Mainland".
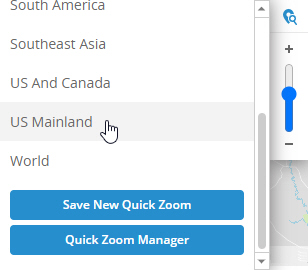
You see the sites and customers and the flows between them:
This completes the quick start tasks.